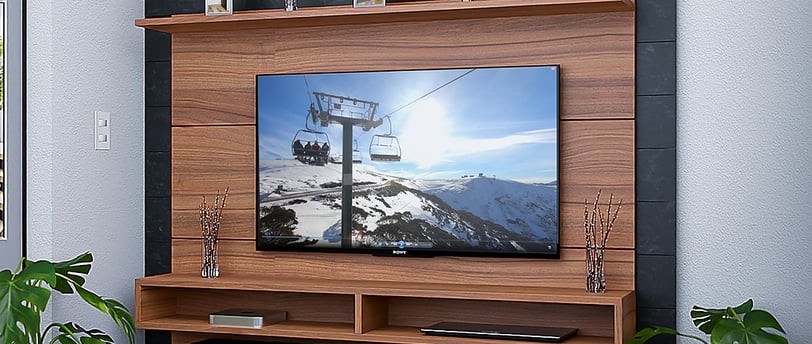
When it comes to mounting on walls, the material you’re working with—whether drywall, concrete, or plaster—makes all the difference. Each surface has unique challenges and best practices that will ensure your mount is secure and your items stay in place. Here are the top ten tips for determining the best practices for hanging on drywall, concrete, and plaster walls.
1. Know Your Wall Type
Identifying whether you have drywall, plaster, or concrete is the first crucial step. Tap the wall—drywall sounds hollow, while concrete and plaster will have a solid thud.
2. Use the Right Anchors
For drywall, use drywall anchors or toggle bolts. Concrete requires masonry anchors or screws, and plaster walls may need plaster anchors to avoid cracking.
3. Check for Studs
Studs provide the most secure mount for drywall. Use a stud finder to locate them and anchor your screws directly into the stud for the best support.
4. Drill Pilot Holes
Always drill pilot holes, especially for concrete and plaster, to avoid cracking or damaging the wall. For concrete, use a masonry bit, and for plaster, drill slowly to prevent chips.
5. Weight Capacity Matters
Determine the weight of what you're hanging. Drywall can only handle light-to-moderate weight without studs, while concrete and plaster are better suited for heavier items.
6. Use Adhesive Strips for Lightweight Items
For lighter items like picture frames, adhesive strips are great for drywall. However, they may not hold well on rough plaster or concrete surfaces.
7. Avoid the Edges of Plaster
Plaster walls can crack easily. Avoid drilling near the edges where the plaster is more vulnerable.
8. Use Expansion Bolts for Concrete
Expansion bolts are ideal for heavy-duty mounting on concrete surfaces, providing a secure hold that withstands significant weight.
9. Consider Using a Mounting Bracket
When dealing with heavier items, use a mounting bracket that can be fastened into studs or supported by multiple anchors in concrete or plaster.
10. Test Your Mount’s Security
Always test the security of your mount by lightly pulling down before adding weight. This ensures the anchors and screws are correctly in place and can hold the intended load.
By following these tips, you'll ensure that your mount stays secure no matter the surface. Need help with your mounting project? Professional Tasker has expert solutions for all wall types—get in touch with us today!
Here is a link to our top picks on amazon for mounts to use for varied situations. Please contact us to help with your selection from the following: https://www.amazon.com/dp/B07PN93RJN/?coliid=IGIT8H9HY8H3M&colid=1G4DA6F66JCB7&psc=1&ref_=cm_sw_r_cp_ud_lstpd_V64BCZJCR24SVJMGG34Q

